
September 13, 2026
AI AVATAR PRODUCTION LAB: SCRIPT, PRESENTER, B-ROLL, LANGUAGE VERSIONS, FINAL EDIT
Lesson 61.5 planned the avatar video on paper. This lab produces it. You will take an approved 45–60 second script through a current avatar environment — begin with HeyGen, Synthesia, or Captions — and ship a polished explainer plus one reviewed language or platform variant. Interfaces and plan limits change fast; refresh the exact click path and pricing when you run the lab, and keep the workflow below fixed.
By the end of this lab, you hold one polished 45–60 second avatar-led explainer, editable project and source files, captions, and one reviewed variant.
Setup: what to have ready
- An approved 45–60 second script (Lesson 61.1's
NARRATION-SCRIPT.md, ~110–150 words). - The
AVATAR-VIDEO-BRIEF.mdfrom Lesson 61.5: viewer, one message, proof list, voice plan. - Proof assets gathered before you open the tool: screen recordings, product shots, diagrams, or generated B-roll.
- Written consent if the avatar or voice depicts a real person (Lesson 61.2's scope: what, where, how long).
- A named fluent reviewer if you plan a language variant.
Do not start generating until the script is locked. Revising sentences after rendering multiplies wasted renders.
The workshop path
Follow these steps in order:
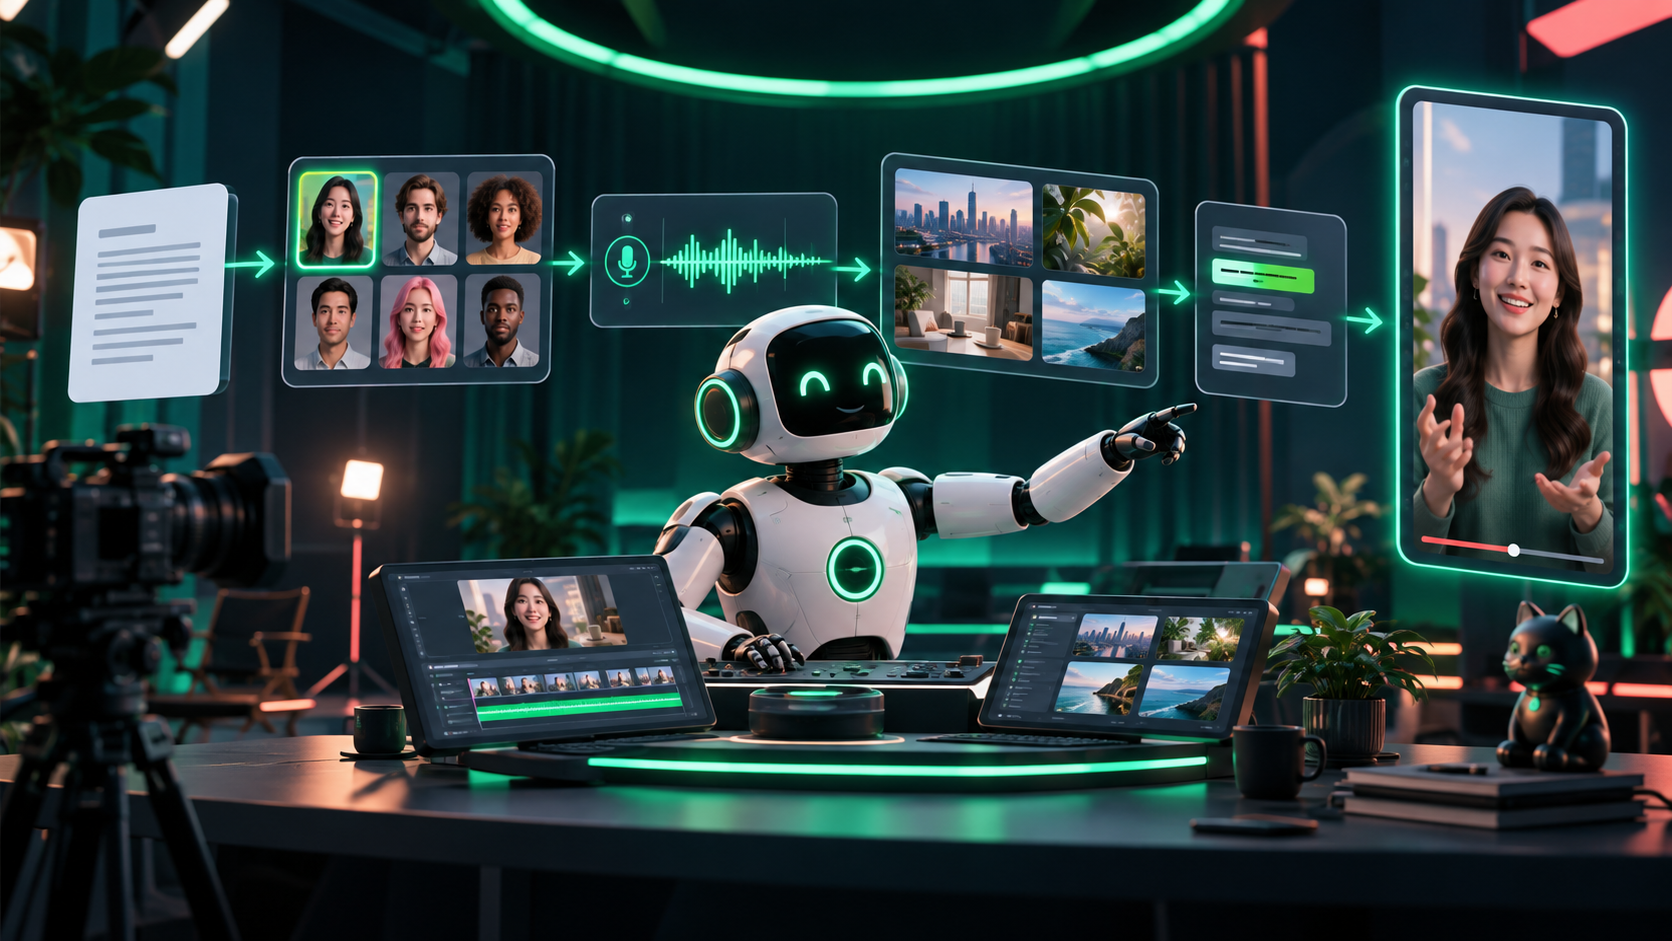
1. Lock the 45–60 second script. Read it aloud, time it, confirm the one message survives. 2. Split into short scenes. Two to four scenes, each one thought: hook, explanation, proof setup, close. Short scenes re-render cheaply when one line changes. 3. Choose the avatar. Stock for speed, personal for repeatable identity (consent on file), designed for brand worlds. 4. Choose or provide the voice. Licensed synthetic or approved clone; set language, pace, and tone per Lesson 61.1's markup. 5. Correct pronunciations. Enter every name, product term, and number phonetically before the first render — fixing lip-sync around a mispronounced word wastes a full cycle. 6. Set a simple branded layout. One background system, one lower-third style, one caption style. Restraint reads as professional. 7. Insert proof and B-roll. Screen recordings, product proof, diagrams, or generated B-roll over every claim the avatar makes. The avatar introduces; the visuals convince. 8. Generate a draft. Full-length rough, captions on. 9. Inspect ruthlessly. Check lip-sync (mouth matches plosives and pauses), emphasis (the right word stressed), pacing (no rushed language, breath at transitions), captions (spelling, timing, names), and visual repetition (no identical background for 40 straight seconds). 10. Revise. Fix script first, then voice, then visuals — re-render only the changed scenes when the tool allows. 11. Export final versions. One wide and one vertical master, plus captions as a sidecar file, plus the editable project and source assets archived.
Keep a render log: date, tool and plan, voice ID, avatar ID, script version. When the interface changes next quarter, the log tells you exactly what to rebuild.
HeyGen troubleshooting (applies to Synthesia/Captions with the same logic)
Personal avatar capture: use frontal, evenly lit phone video on a plain background, natural expression, no filters — the enrollment quality decides every future render. If the avatar looks "almost but wrong," re-capture; no prompt fixes a bad enrollment. Keep the written consent scope (what, where, how long) with the enrollment files.
Render failures in order: wrong pronunciation → fix the phonetic spelling and re-render that scene only; stiff or hyperactive delivery → lower gesture/expression intensity one notch and shorten the avatar segment; lip-sync off → check pacing (rushed language breaks sync) before blaming the tool; background repetition → insert B-roll or scene change every 8–10 seconds.
Cost control: scenes render independently — re-render the changed scene, never the whole video, and keep the three-pass budget (rough, proof, polish) from getting a fourth ambitious sibling. Log credits per render on the test card; personal-avatar plans bill differently from stock-presenter minutes, so confirm the plan line before a big batch.
Budgeting passes and avoiding the uncanny valley
Plan for three renders minimum: a rough timing draft (script and pacing only), a proof cut (avatar plus B-roll, captions on), and a final polish (pronunciation fixes, layout tightening, color and loudness consistency). Teams that budget one render inevitably ship the rough. Time-box each pass — thirty minutes for the rough, an hour for the proof cut — so iteration stays cheap and deliberate.
Watch for the two classic avatar failure looks. The first is the uncanny freeze: long unbroken eye contact, zero head movement, hands never visible. Break it with cutaways, slight scene changes, and shorter avatar segments — presence in bursts, not a stare. The second is the over-animated puppet: exaggerated gestures or head motion on every sentence, which reads as nervous rather than lively. When the tool offers gesture or expression intensity, set it one notch below your first instinct, then compare the renders side by side. Calm and cut away beats hyperactive every time.
The cut-away rule
Apply it without exception: cut away from the avatar whenever the viewer should be looking at the thing being explained. The avatar opens and closes, bridges between ideas, and reacts — the proof occupies the middle. A practical ratio for a 60-second explainer: avatar on screen roughly 15–20 seconds total, evidence the rest. If your draft shows the presenter continuously, re-cut before you call it done.
The multilingual variant
Ship one additional version — another language or another platform cut — and treat it as a real release, not a machine-translation paste:
1. Adapt the script for meaning and timing (Lesson 61.2's chain), not word-for-word. 2. Re-time scenes where the translated read runs longer. 3. Generate the language version with the matched voice. 4. Have the fluent reviewer check final words, names, and claims in the rendered video before publishing.
The objective is a useful version for another audience. A reviewer rejection is a successful lab outcome — it caught the error before the audience did.
Check your work
- [ ] Script locked before first render; scenes split by thought.
- [ ] Pronunciations entered; draft inspected for lip-sync, emphasis, pacing, captions, repetition.
- [ ] Cut-away rule applied: proof on screen during every claim.
- [ ] Captions proofread as a separate pass; sidecar exported.
- [ ] Language or platform variant reviewed by a fluent speaker (language) or checked end-to-end (platform).
- [ ] Consent scope, voice/avatar IDs, and script version logged.
Common failure mode: the single-render ship — one draft generated, exported, and published with mispronounced names and auto-captions unproofed. If your lab took one pass, it was a demo, not a production. Budget three passes minimum.
The finish line
You are done when you hold: one polished 45–60 second avatar-led explainer (wide + vertical), editable project and source files, proofread captions, one reviewed language or platform variant, and a render log with consent scope. Refresh the HeyGen, Synthesia, and Captions interface notes the next time you run this lab.
Next, Appendix 61.B goes live: real-time personas on camera with Akool Live Camera, conversational agents with Tavus CVI, HeyGen Live Avatar, and D-ID Agents.
ARTICLE DISCUSSION
JOIN THE
CONVERSATION.
Got a question, a take, or a better way to do this? Log in and leave a comment.